Build your first app
Make sure to first sign up at app.buttonize.io and create or join an organization.
Setup starter project
Clone starter project, install dependencies and start Buttonize local development.
Node.js version >= 20 is required.
npx create-buttonize && \
cd my-buttonize-app && npm install && \
npx buttonize dev bin/cdk.tspnpm create buttonize && \
cd my-buttonize-app && pnpm install && \
pnpm buttonize dev bin/cdk.tsyarn create buttonize && \
cd my-buttonize-app && yarn install && \
yarn buttonize dev bin/cdk.tsAPI Key
If you go through the onboarding tutorial on app.buttonize.io we will show you commands containing also an API Key value.
Buttonize API Key is crucial for deploying Buttonize apps. In case you don’t see the API key or you don’t want to go through the onboarding, you can create an API Key here.
Once you have the API key, make sure to call Buttonize.init at the beginning of your CDK stack.
4 collapsed lines
import * as cdk from 'aws-cdk-lib'import { Buttonize } from 'buttonize/cdk'import { Construct } from 'constructs'
export class ExampleStack extends cdk.Stack { constructor(scope: Construct, id: string, props?: cdk.StackProps) { super(scope, id, props)
Buttonize.init(this, { apiKey: 'PUT_API_KEY_HERE' }) }}Local development
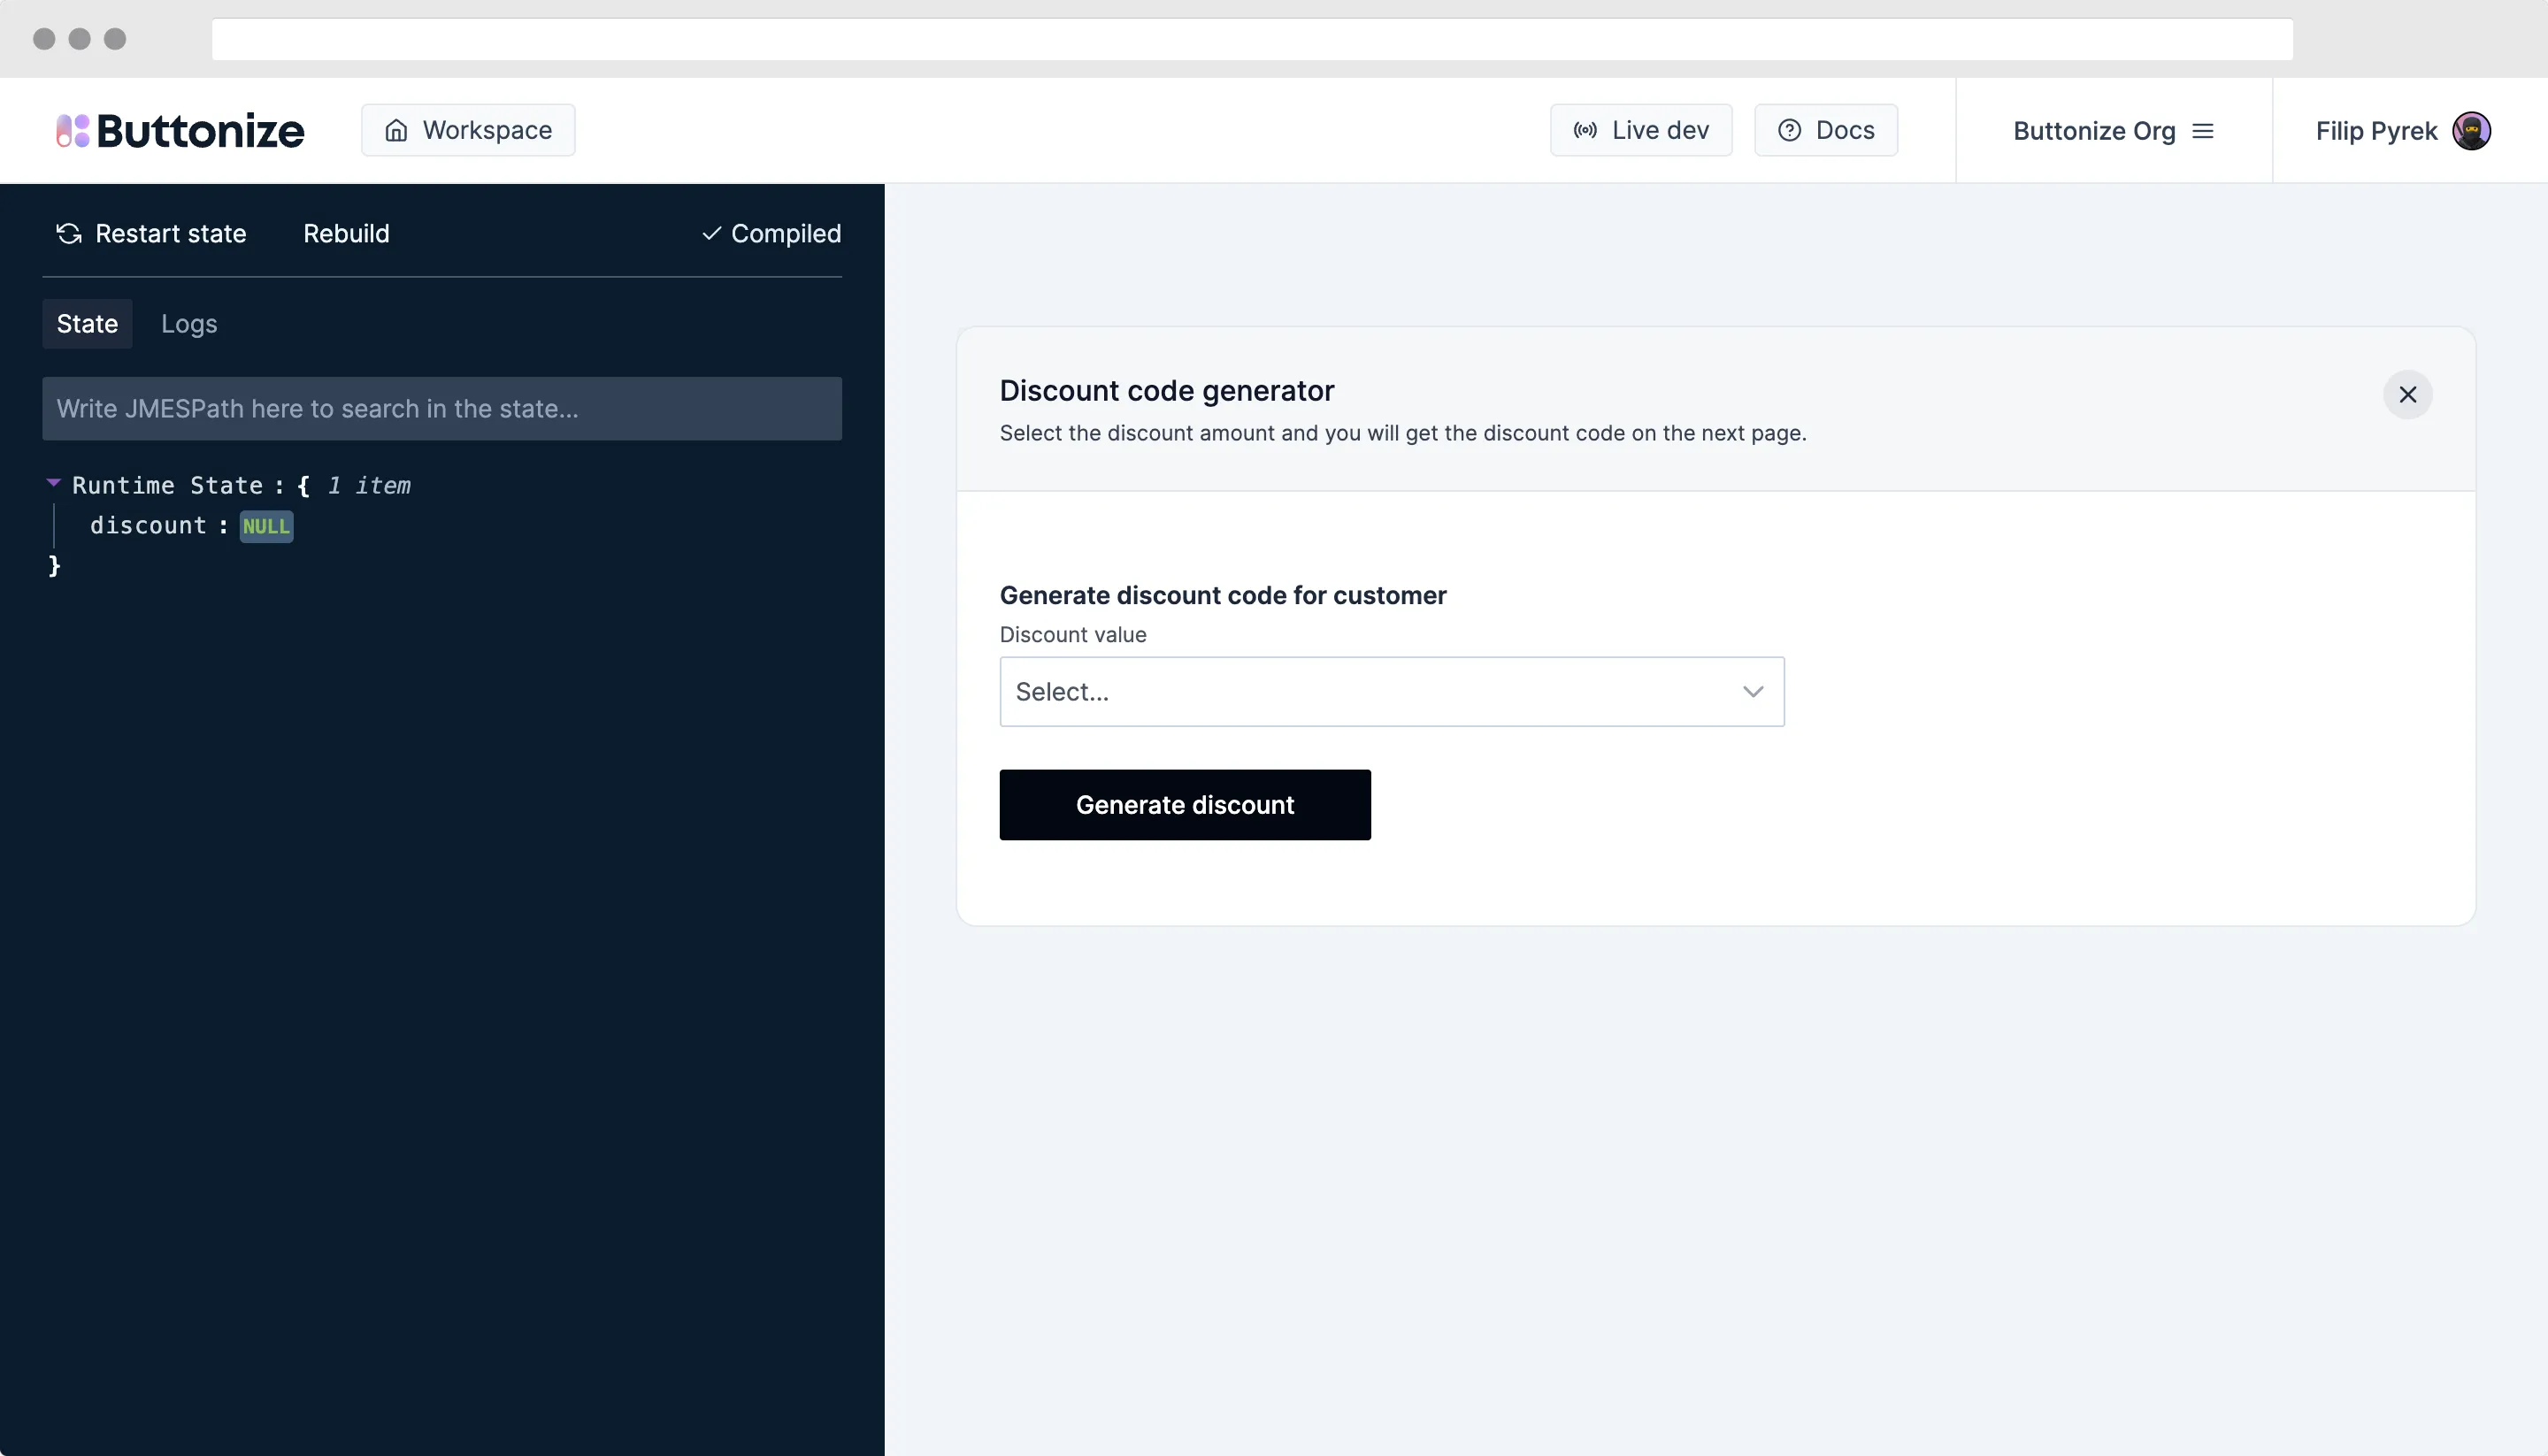
Once you start local development with buttonize dev you can go to app.buttonize.io/live to view your application.
Buttonize CLI monitors changes in your CDK code and always renders the latest version of the app. In case the app is deployed Buttonize CLI fetches all the necessary information from AWS to make sure the app is fully working also locally.
App deployment
Since Buttonize seamlessly integrates into your CDK application as a CDK Construct, you can deploy your Buttonize apps just by executing standard deployment commands.
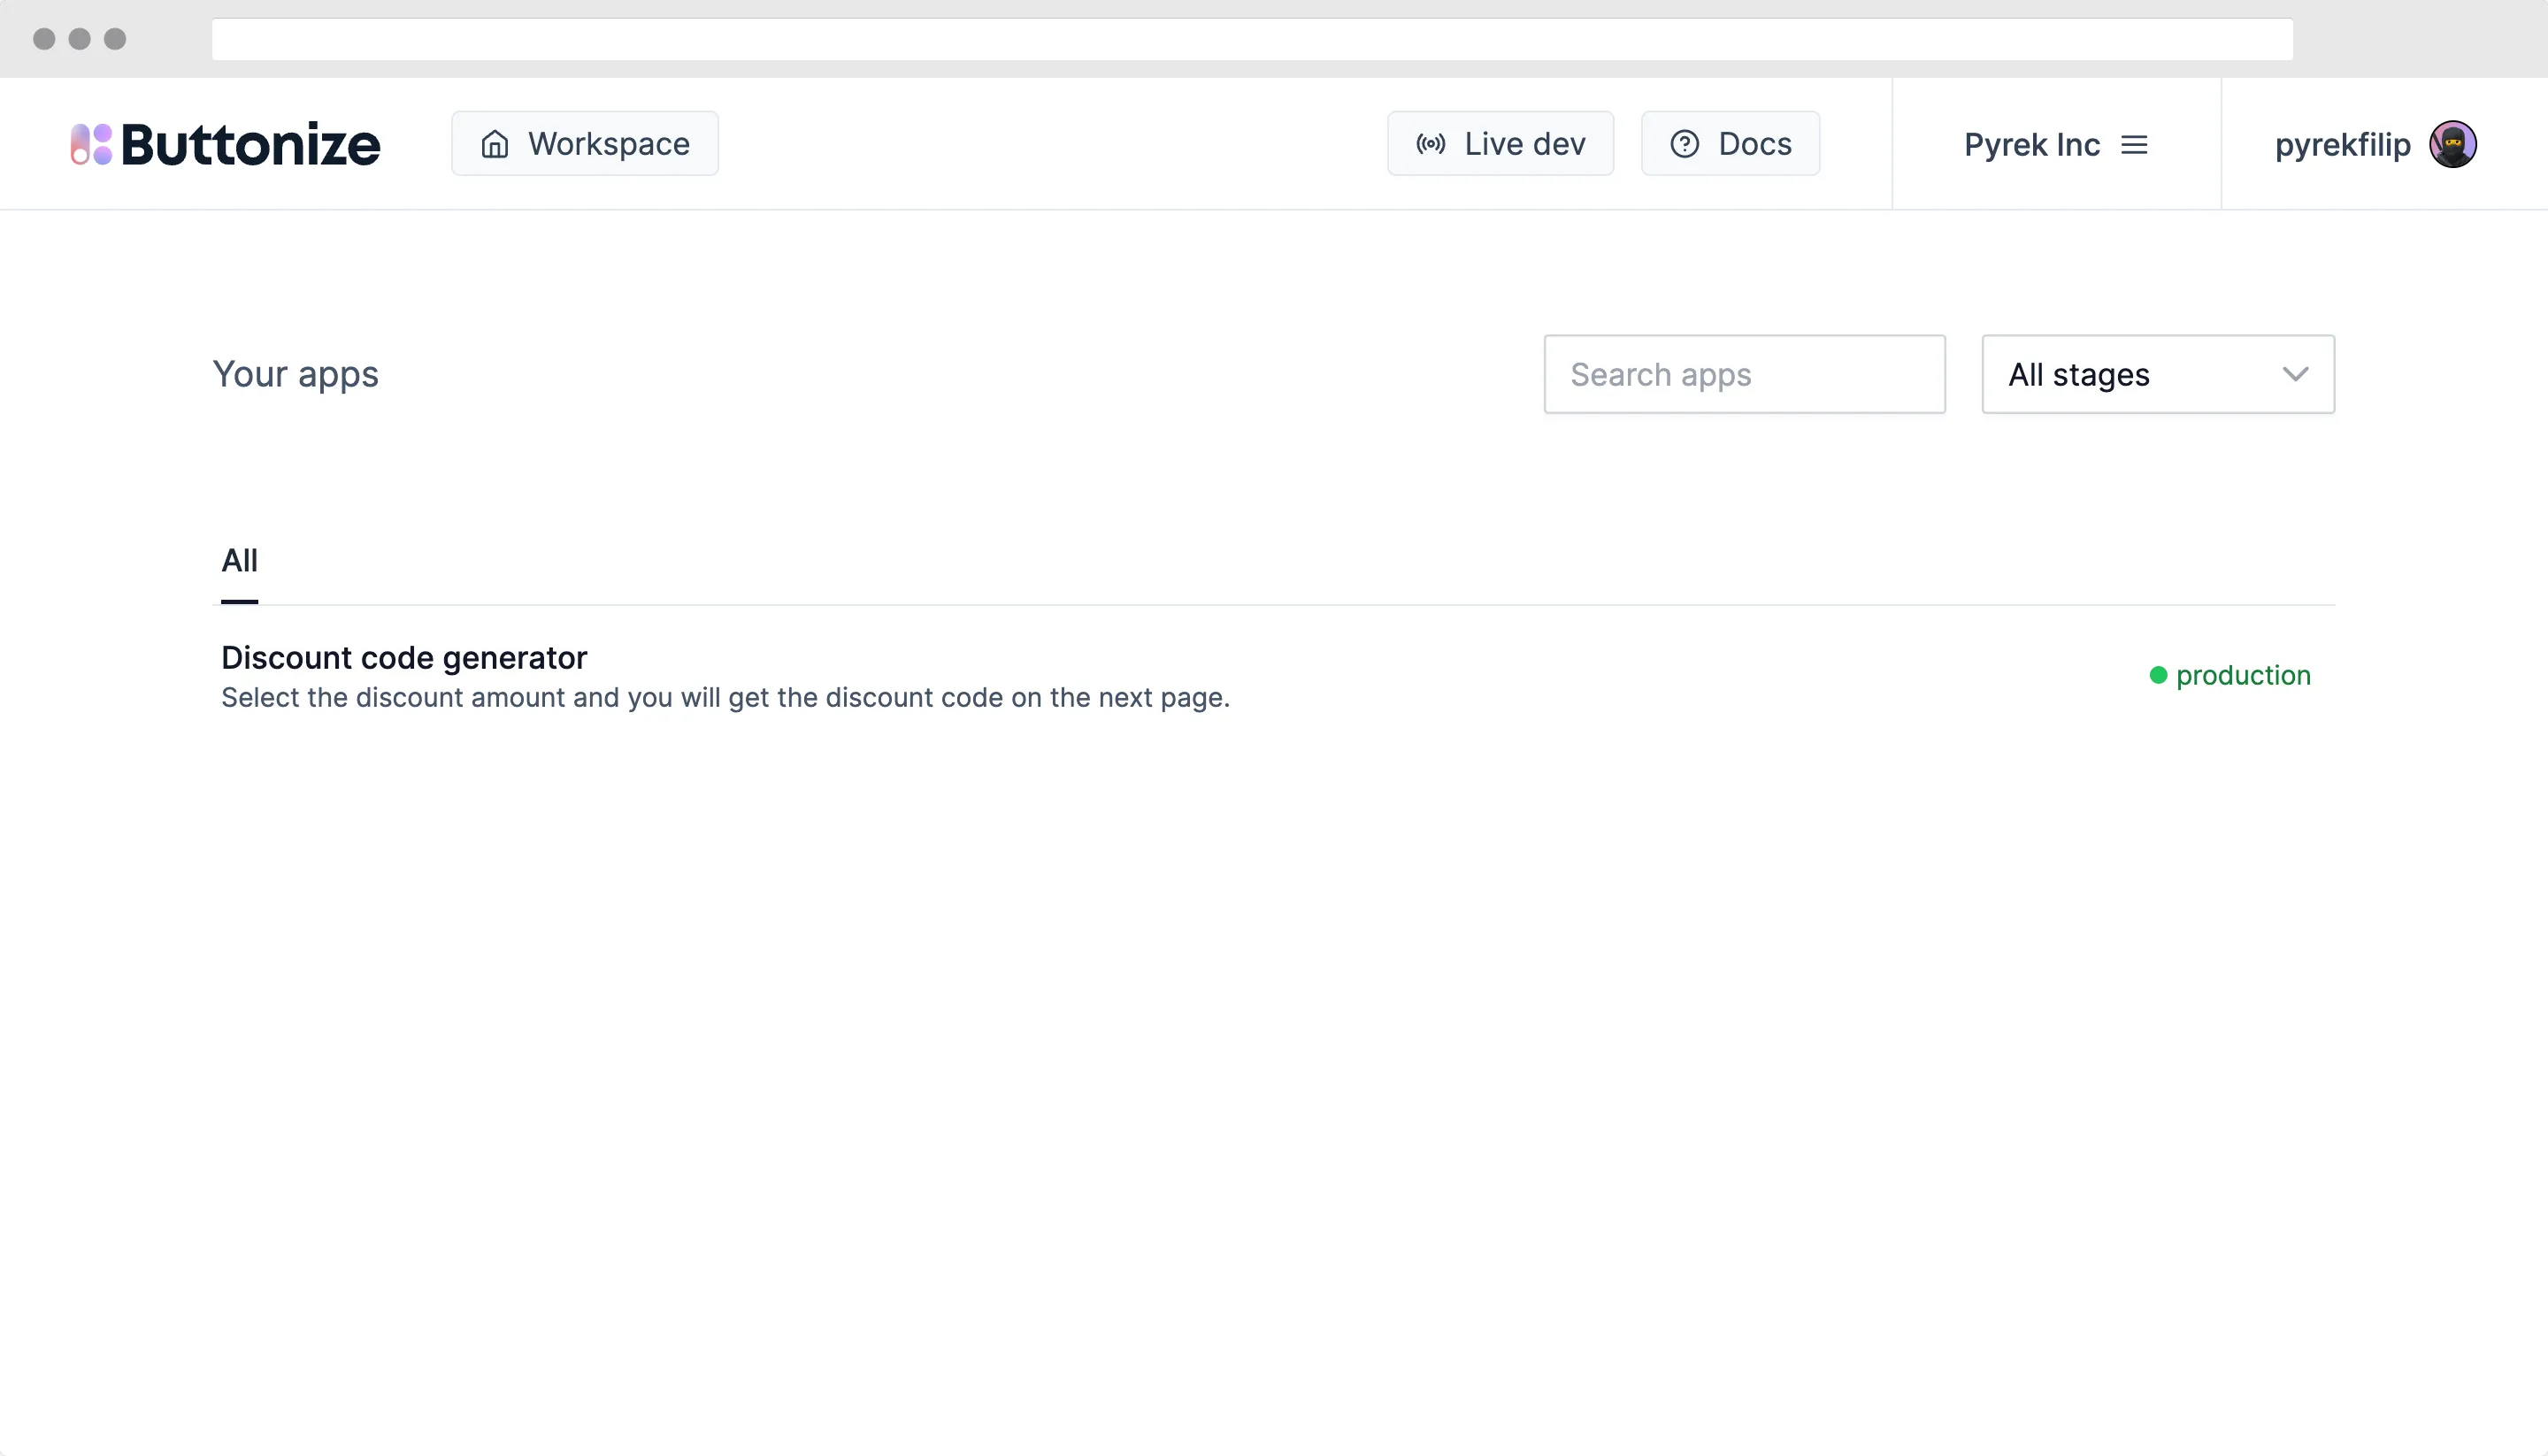
cdk deployOnce you deploy the app, you can go to app.buttonize.io and you will see your app right there.
And the application itself looks like this.
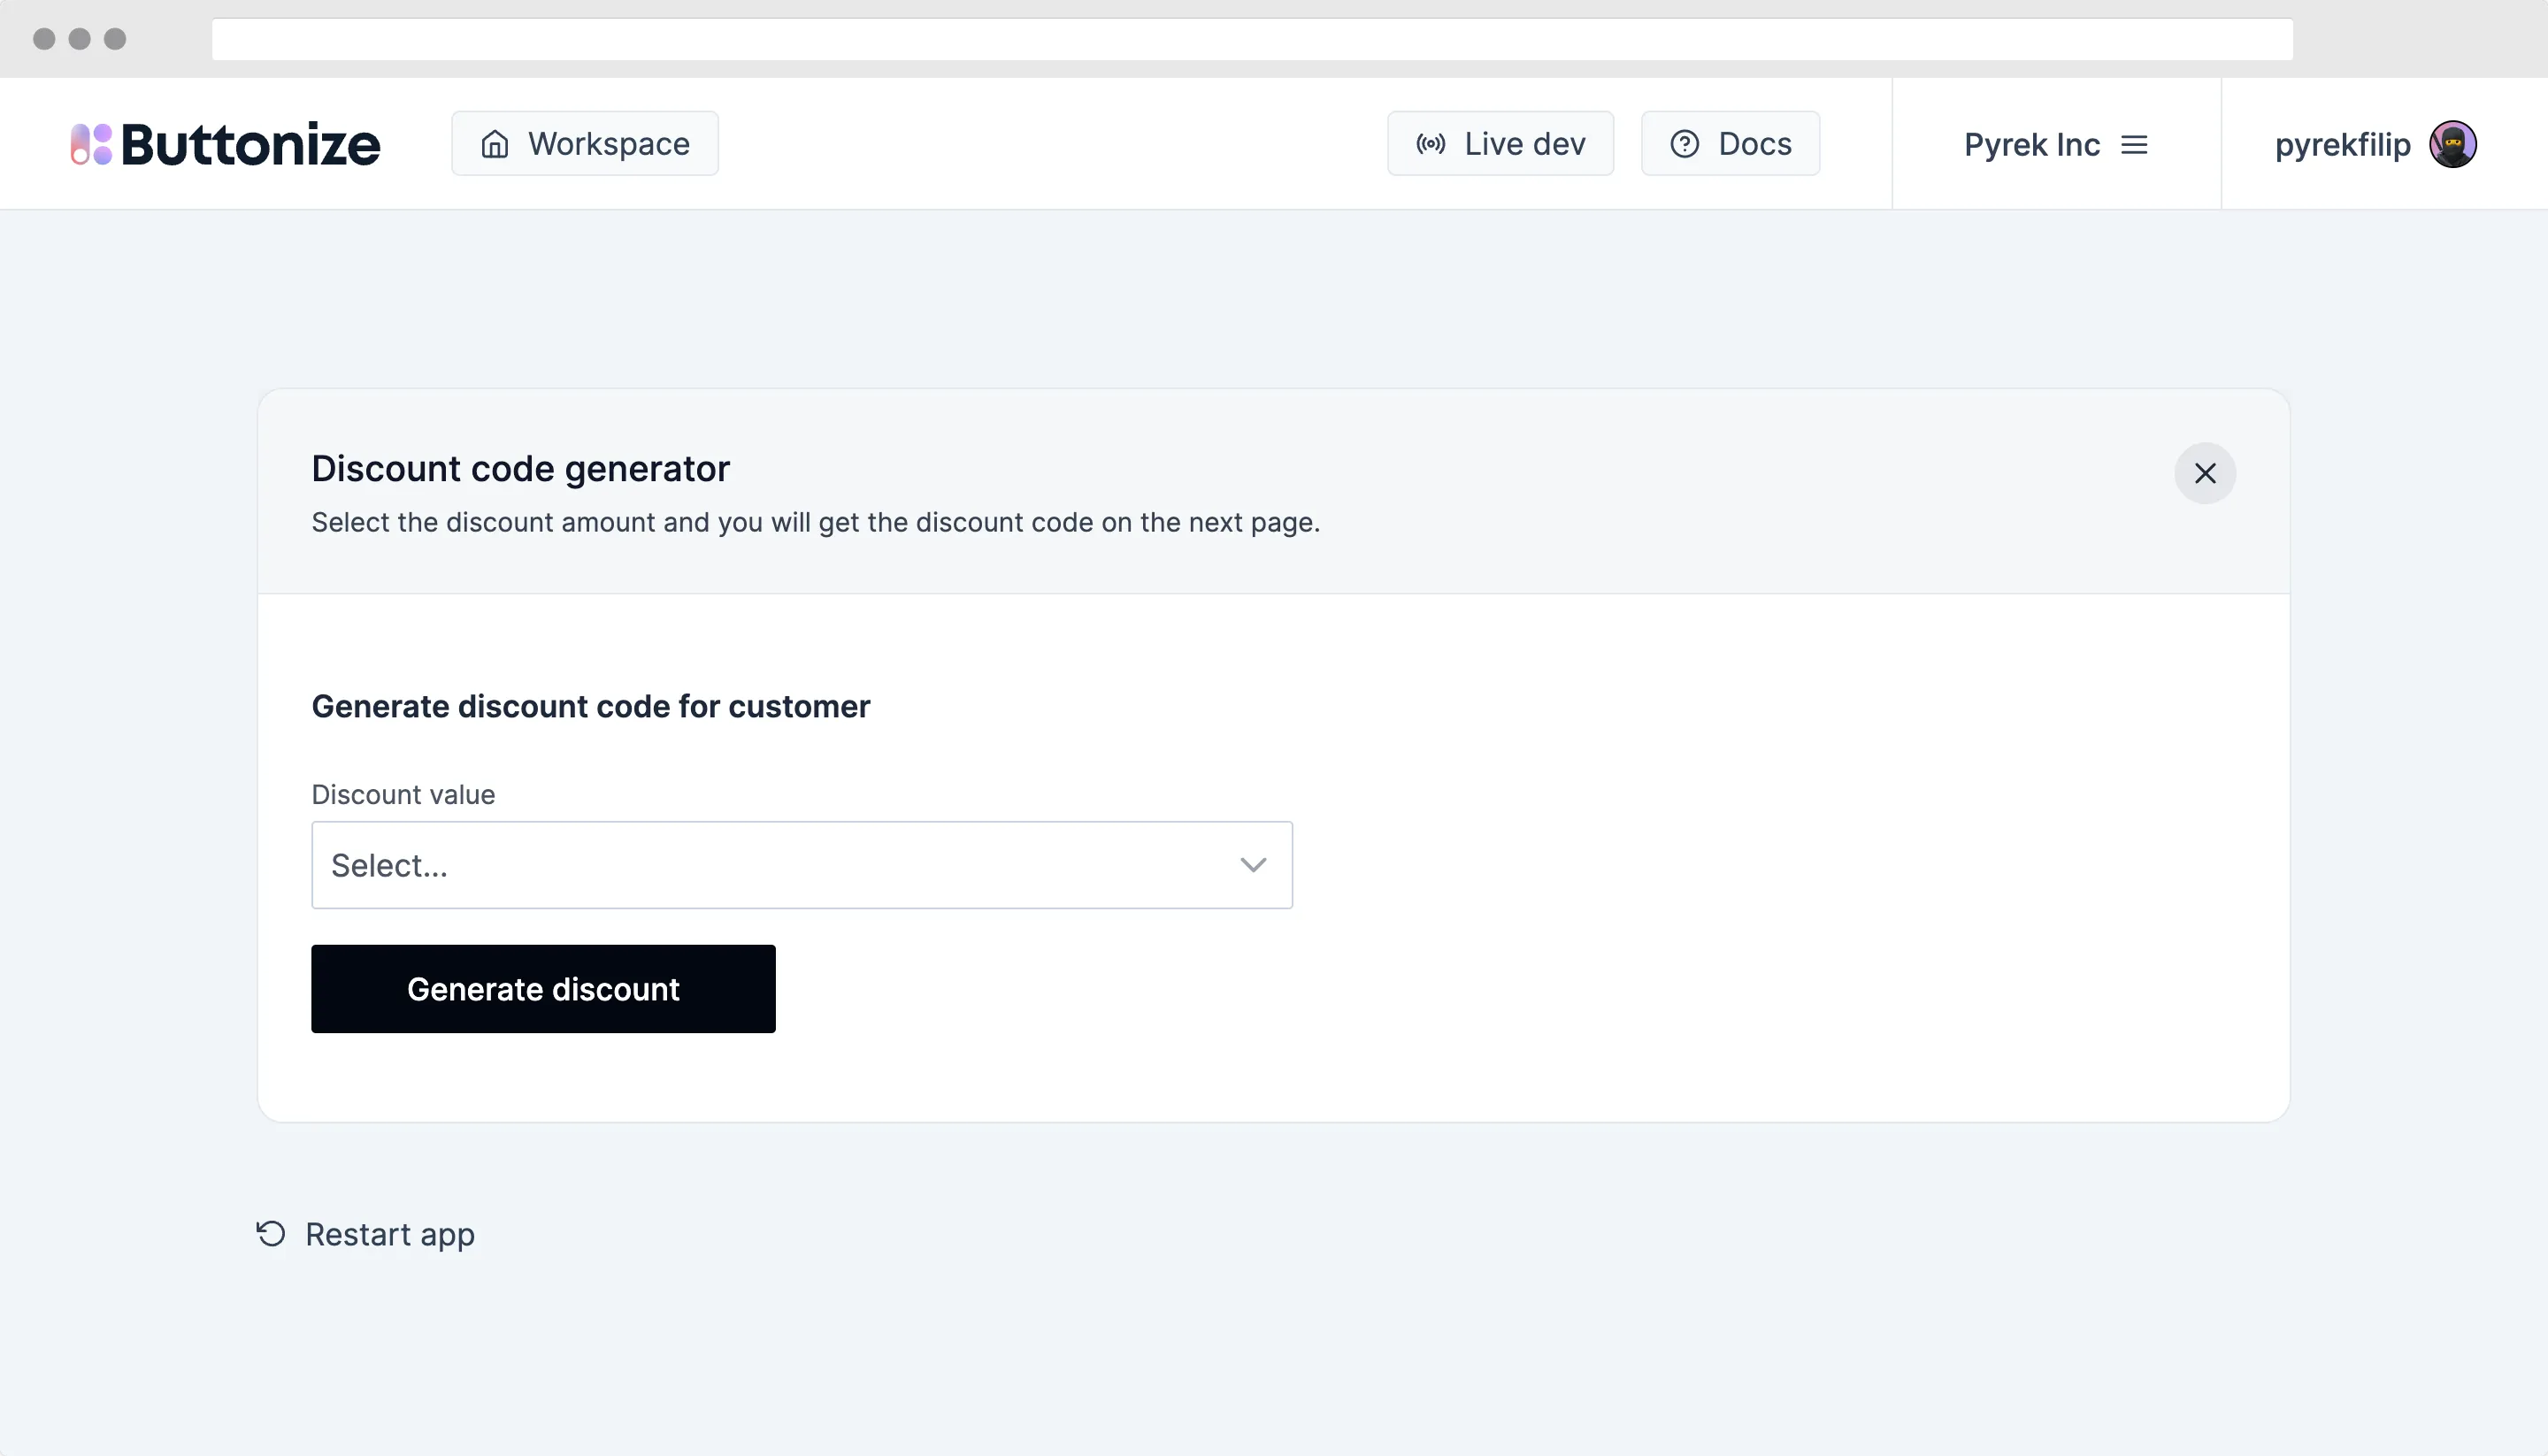
You have deployed your first Buttonize app
Congrats! Let us know how you liked it on Discord.